Creating a stunning backyard with interlocking pavers is a fantastic way to enhance the aesthetic appeal and functionality of your outdoor space. However, before you can lay down those beautiful pavers, proper preparation is crucial to ensure a durable and long-lasting result. In this comprehensive guide, we’ll take you through the essential steps of backyard interlocking foundation preparation, from planning and site preparation to base installation and finishing touches.
Planning:
Before diving into any backyard project, thorough planning is key to success. Start by envisioning how you want your backyard to look and function. Consider factors such as the intended use of the space, the style of interlocking pavers you prefer, and any existing features that need to be incorporated or removed.
Sketch out a rough layout of your backyard, marking areas for walkways, patios, or any other desired features. Take measurements accurately to determine the amount of material needed and ensure that your design fits the available space.
Foundation Preparation:
Once you have a clear plan in place, it’s time to prepare the site for interlocking installation. Begin by clearing the area of any vegetation, debris, or existing structures that may interfere with the project. Use a shovel, rake, or excavator to remove grass, roots, rocks, and other obstacles.
Next, assess the slope and drainage of your backyard to prevent water accumulation and ensure proper runoff. Grading may be necessary to create a level surface and promote efficient drainage away from structures. Use a string level and a transit to establish the desired slope and ensure uniformity throughout the project area.
Base Installation:

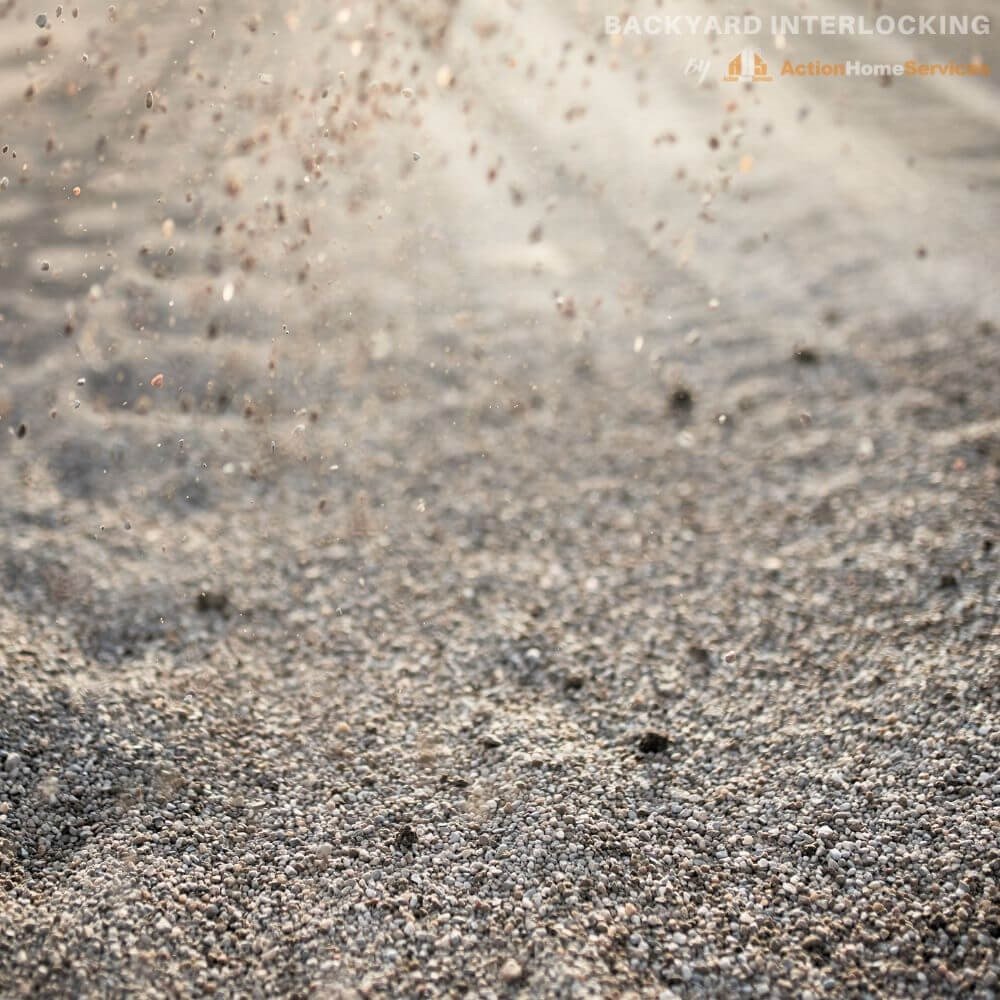
The foundation of your interlocking project is the base material, which provides stability, support, and drainage for the pavers. Begin by installing a geotextile fabric to prevent weed growth and stabilize the soil. Next, add a layer of crushed stone or gravel to create a sturdy base.
Compact the base material using a plate compactor to achieve a solid, even surface. Repeat this process in layers, adding and compacting the base material until you reach the desired depth. The thickness of the base will depend on factors such as soil conditions, intended use, and the type of interlocking pavers being installed.
Edge Restraints:
To maintain the integrity of your interlocking project and prevent paver shifting or spreading, it’s essential to install edge restraints along the perimeter. Edge restraints can be made of various materials, including plastic, aluminum, or concrete. Secure them in place using spikes or stakes, ensuring they are level and properly aligned with the paver edges.
Sand Bed Preparation:
Before laying the interlocking pavers, prepare a sand bed to provide a cushioning layer and facilitate proper interlock. Spread a layer of coarse sand over the compacted base, using screed rails or a straight board to achieve a uniform thickness.
Once the sand bed is in place, use a vibratory plate compactor to settle the sand and create a smooth, level surface. Check for any dips or bumps and make adjustments as needed to ensure a consistent bed for the pavers.
Paver Installation:
With the site prepared and the base in place, it’s time to lay down the interlocking pavers according to your design. Start from one corner and work your way outward, placing each paver tightly against the next to create a seamless, interlocked pattern.
Use a rubber mallet to tap the pavers into place and ensure they are level with adjacent stones. Periodically check the alignment and elevation of the pavers using a straight edge and level, making adjustments as needed to maintain uniformity.
Joint Sand Application:
Once all the pavers are in place, fill the joints between them with fine sand to lock them together and prevent shifting. Sweep the sand over the surface, ensuring it fills all the gaps completely. Use a broom or a mechanical sweeper to remove excess sand and achieve a clean finish.
Finishing Touches:
With the interlocking pavers installed and the joints filled, take some time to add the finishing touches to your backyard project. Install any additional features such as lighting, seating, or landscaping elements to enhance the functionality and aesthetic appeal of the space.
Regular maintenance is essential to preserve the beauty and integrity of your interlocking pavers. Sweep the surface regularly to remove debris and prevent weed growth. Periodically reapply joint sand as needed to maintain stability and prevent erosion.
Preparing your backyard for interlocking installation requires careful planning, proper execution, and attention to detail. By following the steps outlined in this guide, you can transform your outdoor space into a beautiful and functional oasis that will be enjoyed for years to come. With the right preparation and a little creativity, you can create a backyard retreat that reflects your style and enhances your outdoor living experience.
